As I venture further into art, I find many artists I like, although there is one artist I love in particular: Hayao Miyazaki. Nature, machine, and flight are just a few among many inspirations we share. There are strong anti-war messages in all his films without them being particularly political. The more research I do on the inspiration and origin of design and plot the more inspired I get to continue my art career.
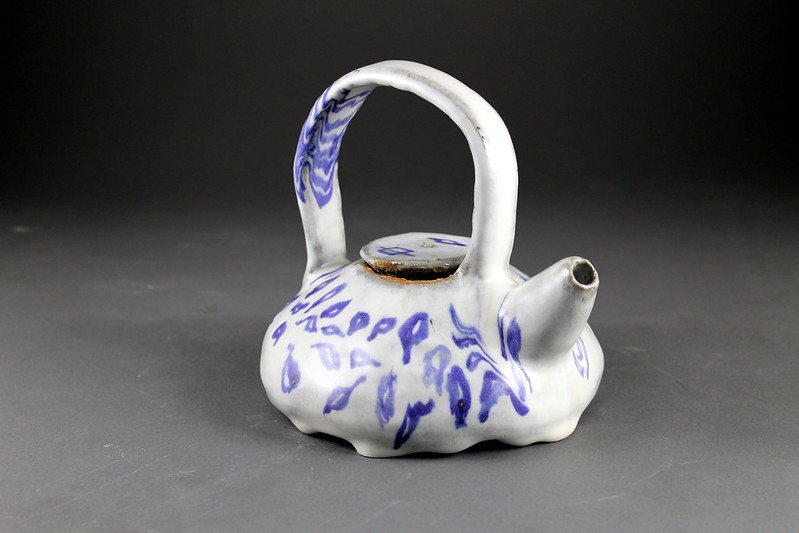
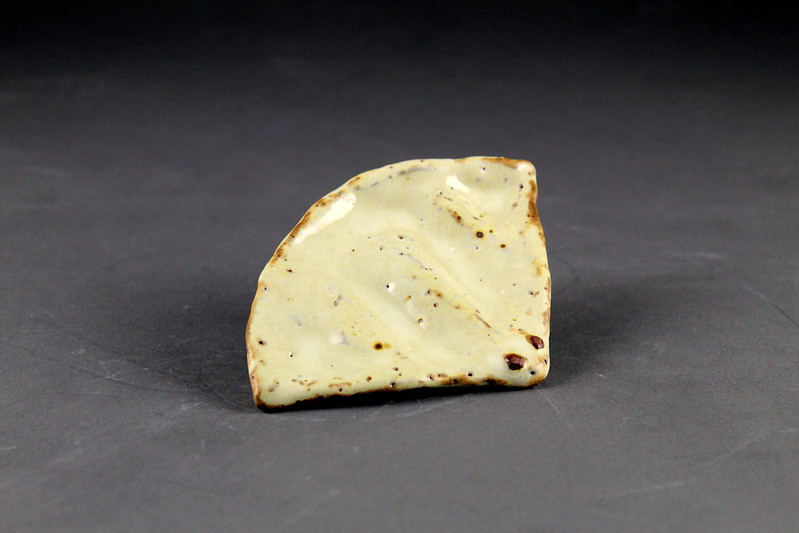
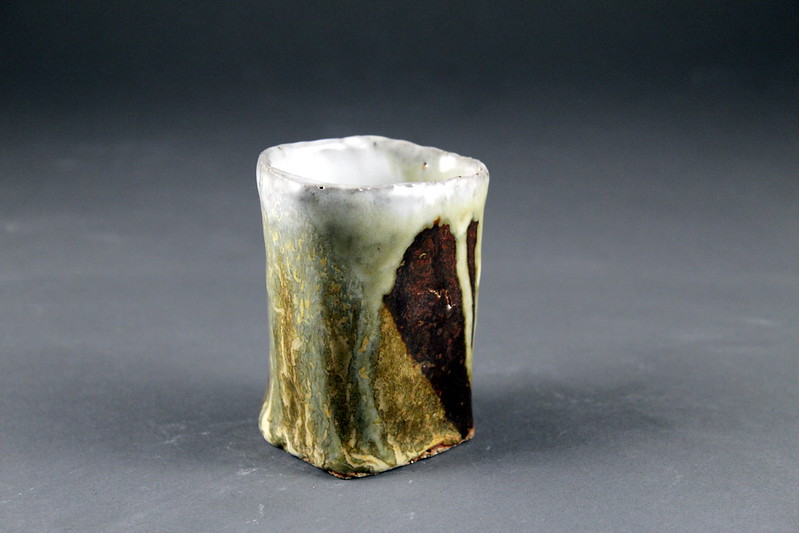
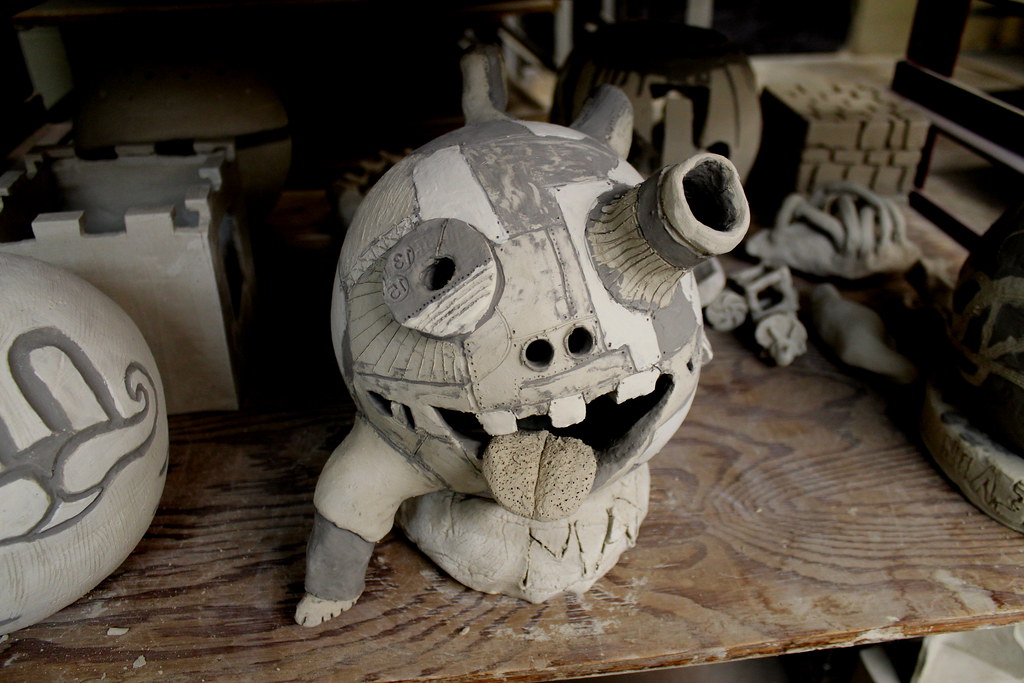
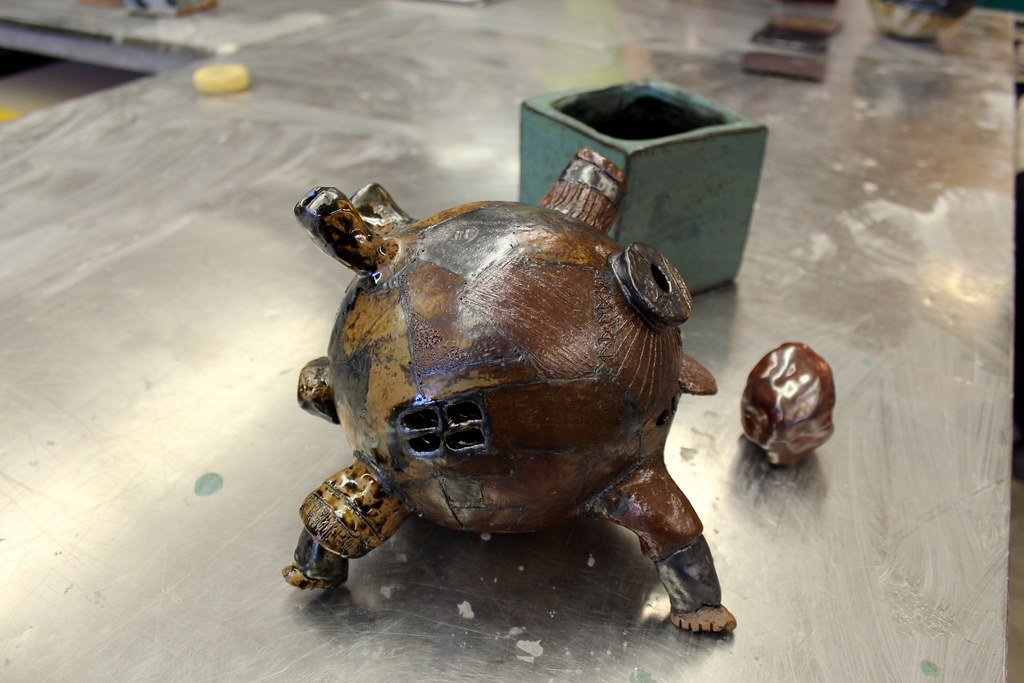
Below is a piece inspired by Howl's Moving Castle.
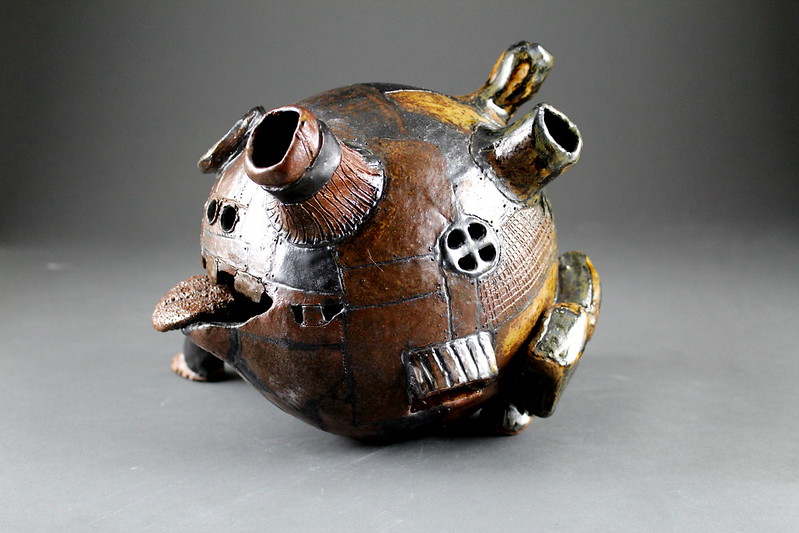
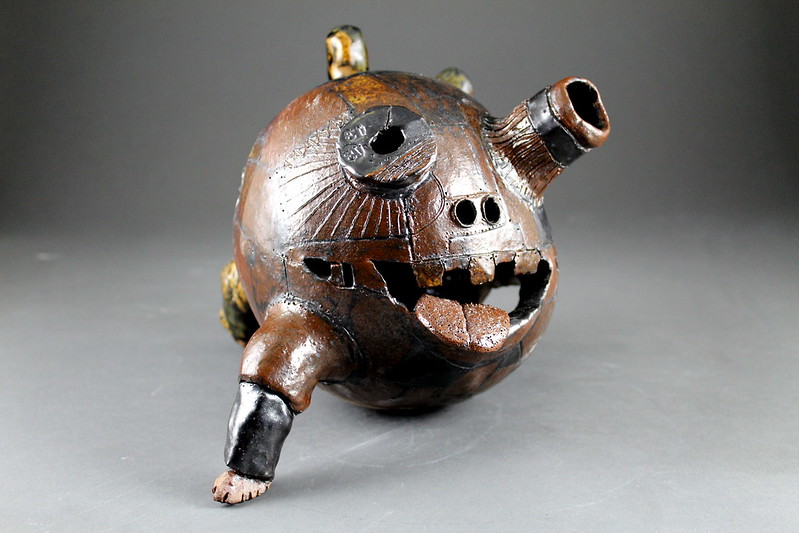
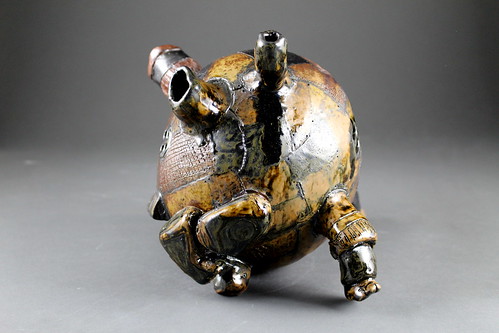

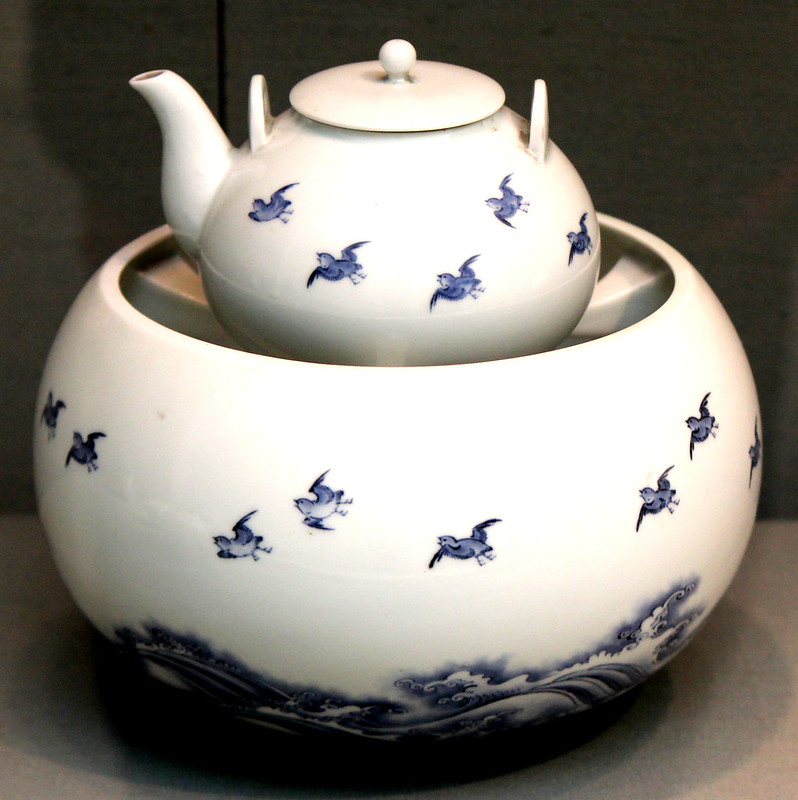
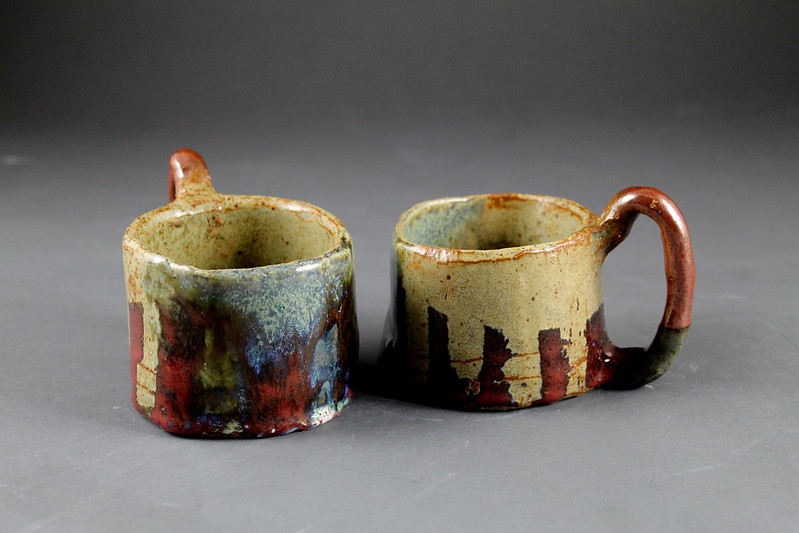
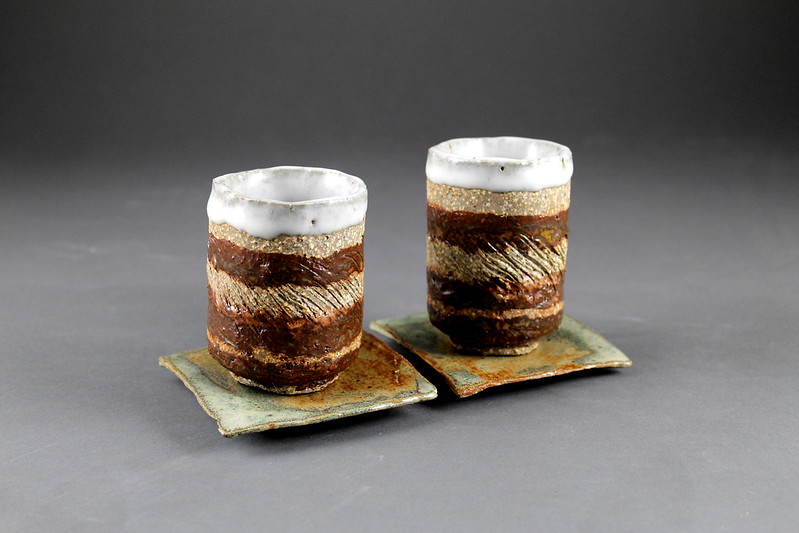
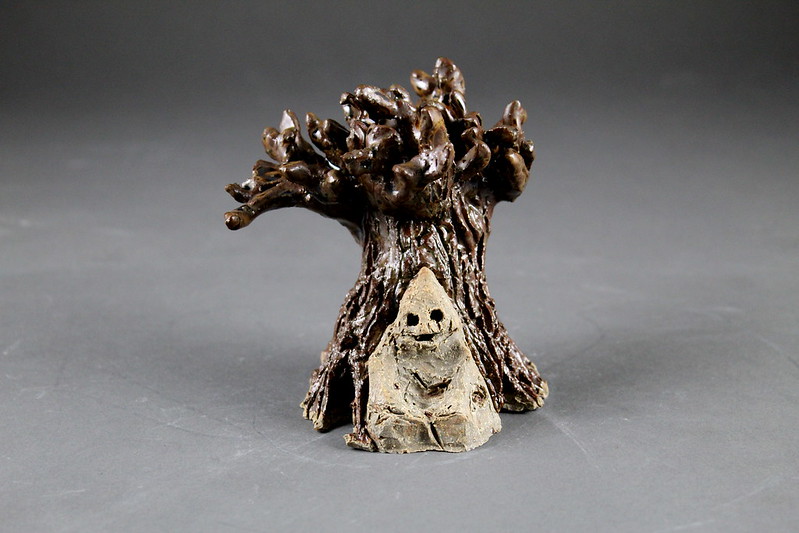
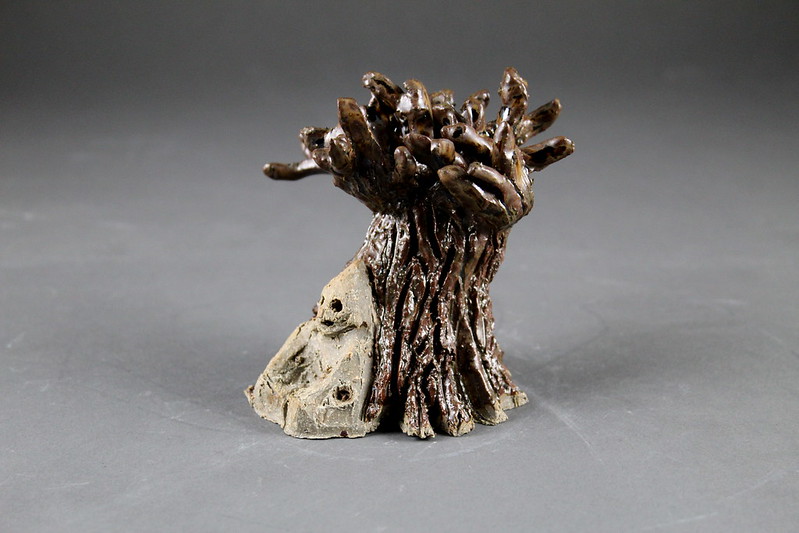
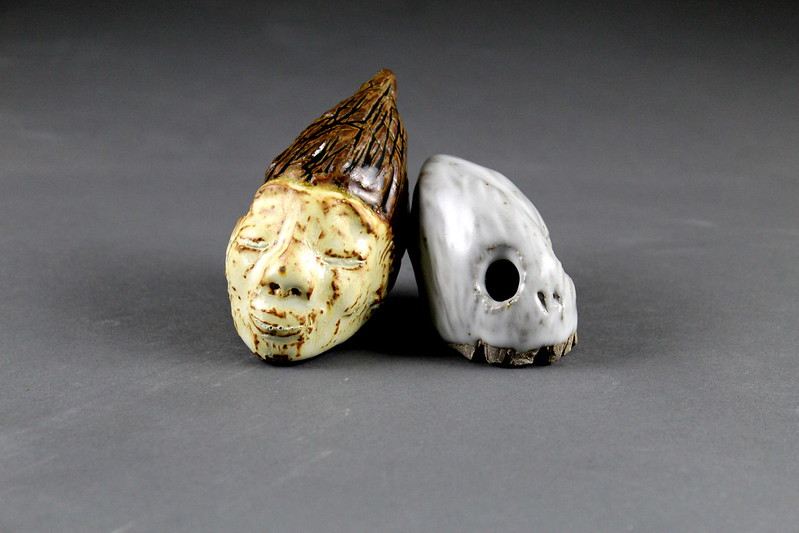
I made two of the following to experiment with design and pattern.
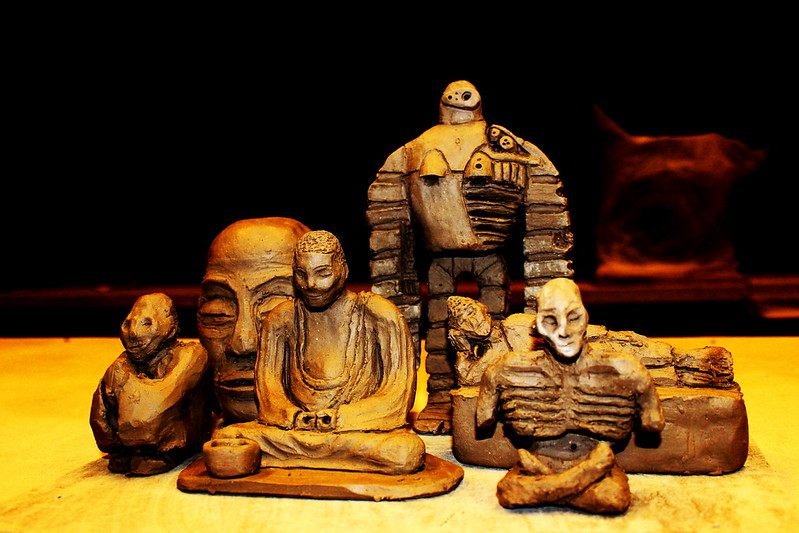
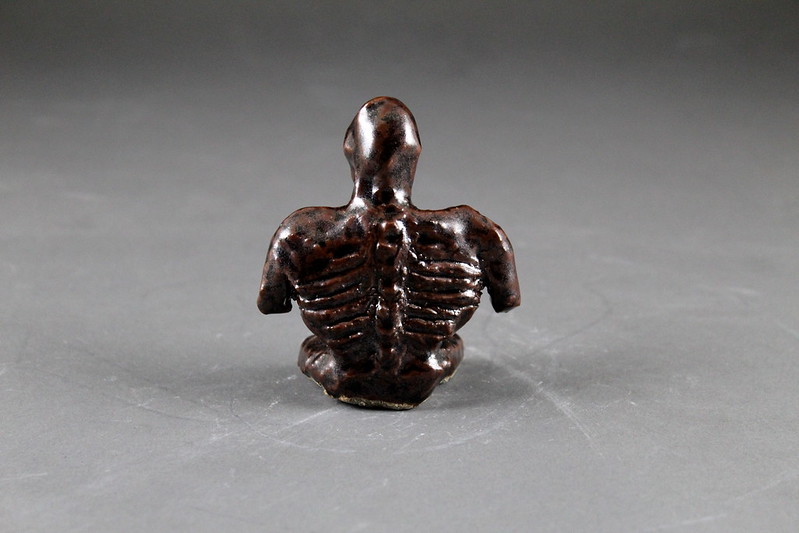
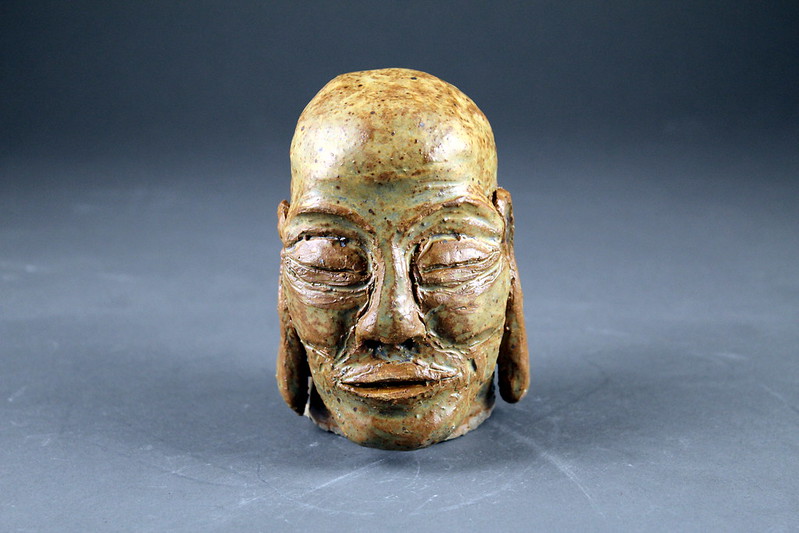
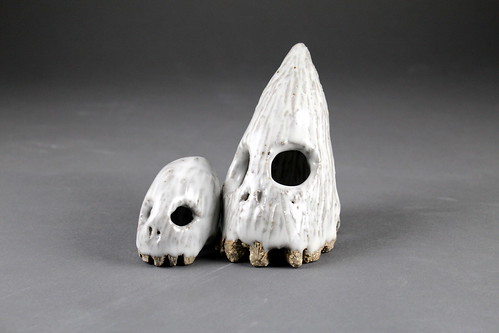
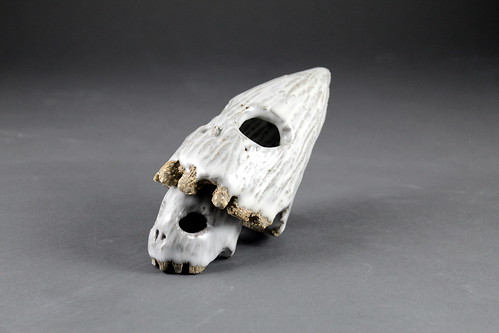
Giant Warrior Skulls (Nausicaa)
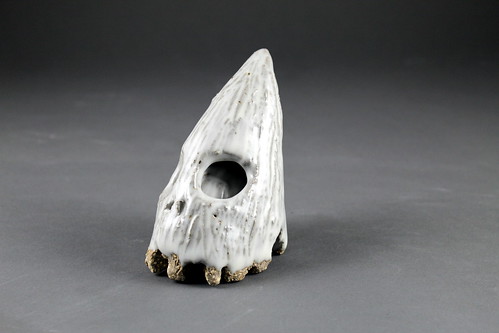
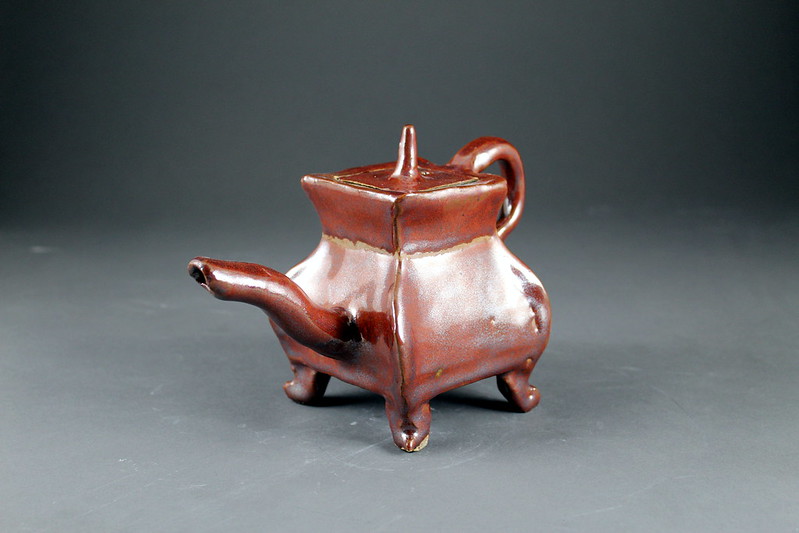
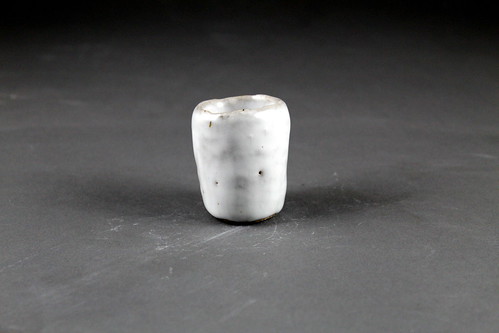
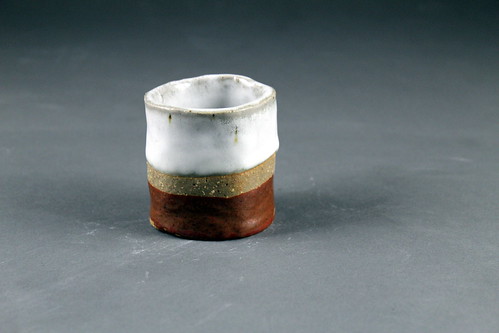
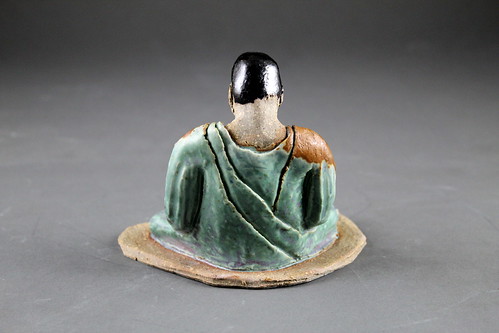
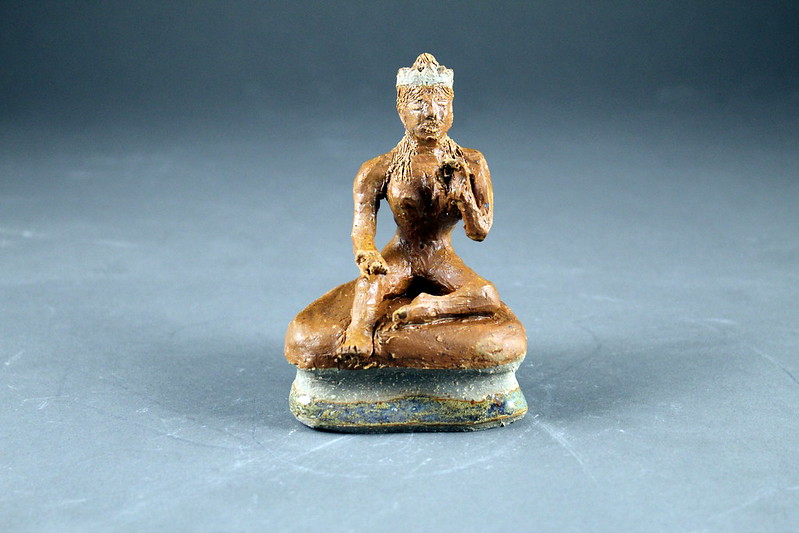
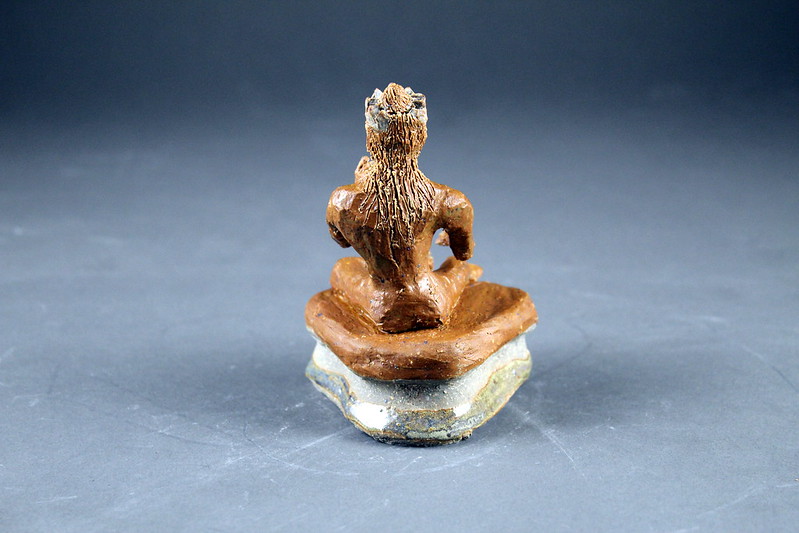
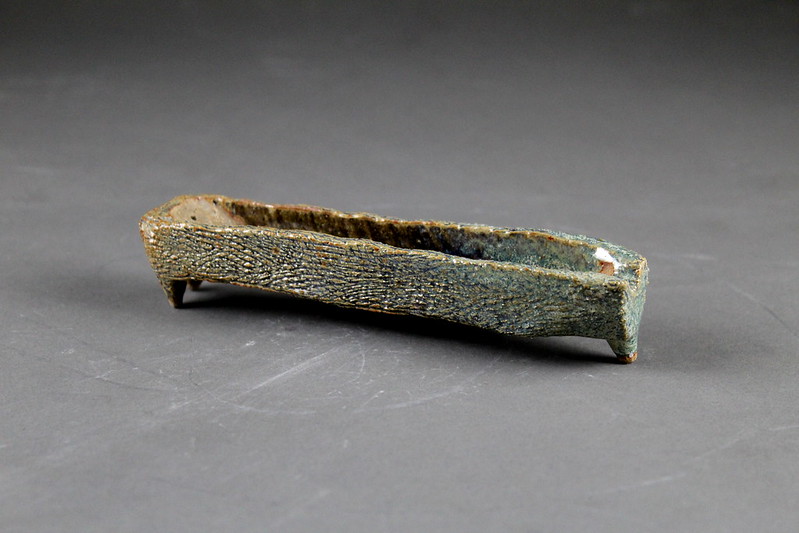
I enjoy the Japanese culture and aesthetic of simple, clean, imaginative design, so I made the following:
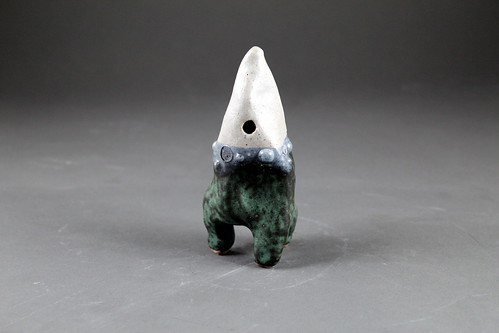
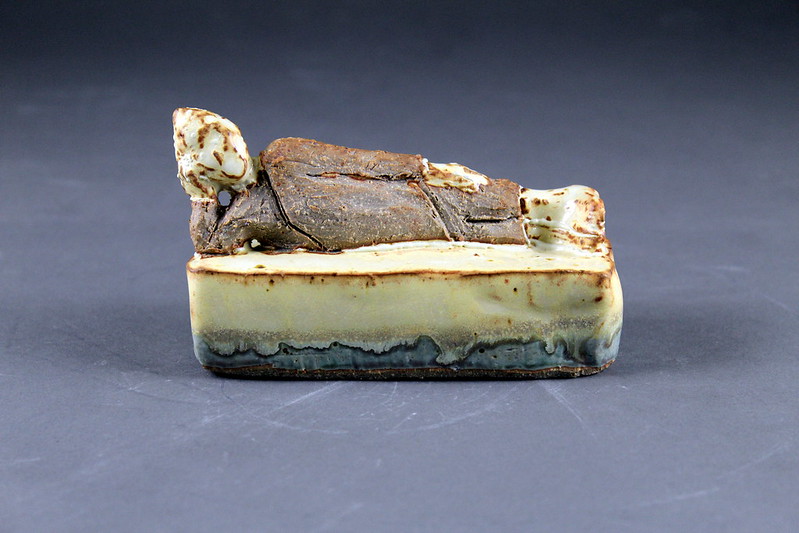
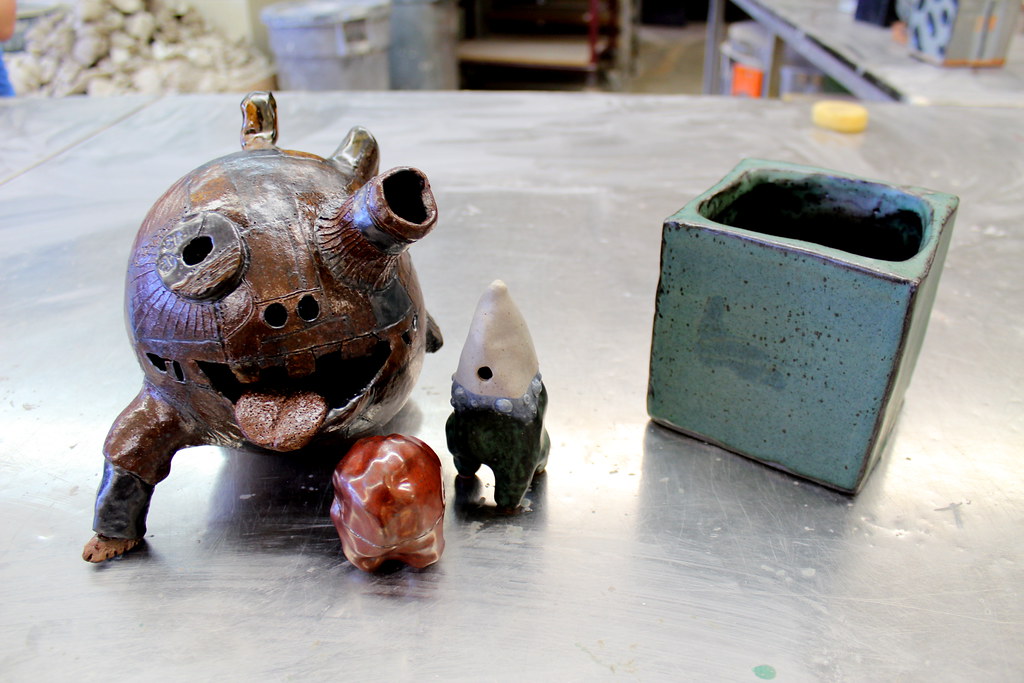
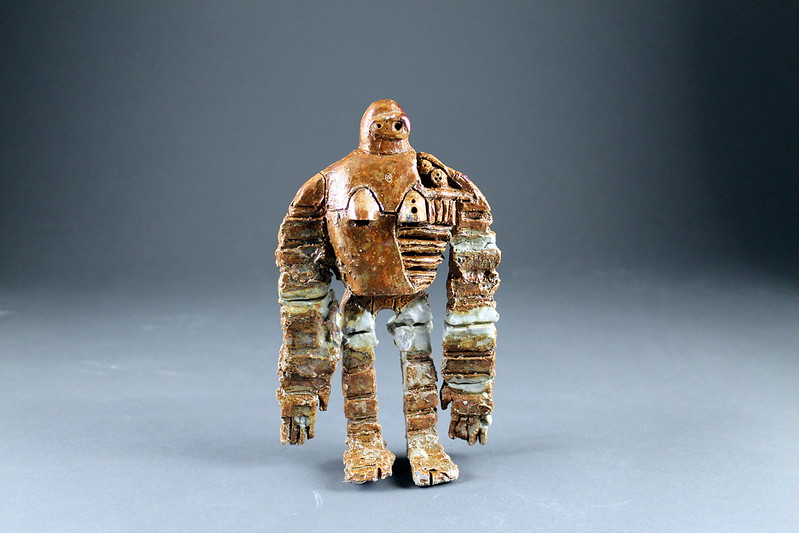
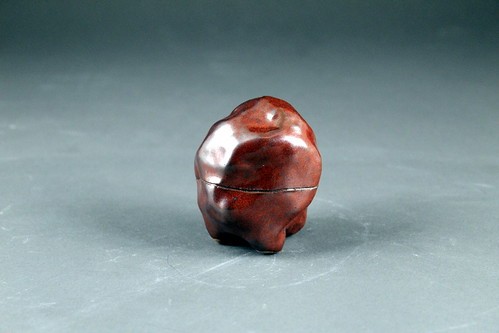
Martin Figure
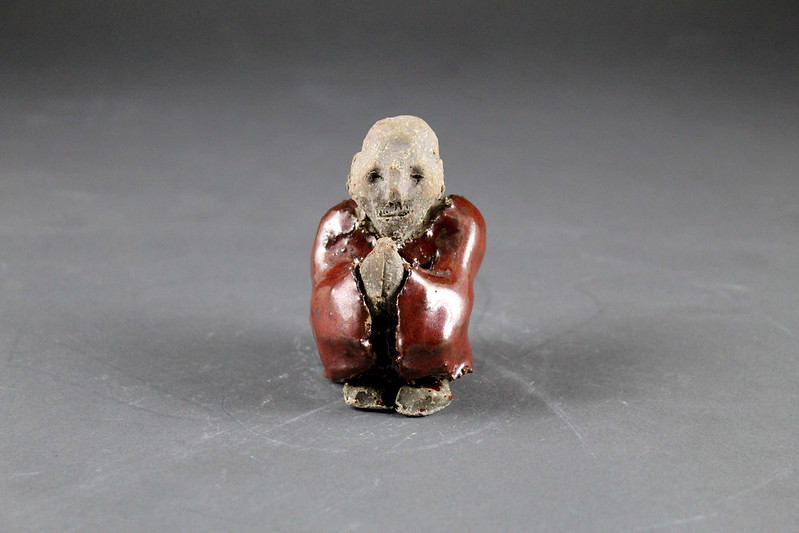
Mountain Figure